Customized visualization#
The usage of Open3D convenient visualization functions draw_geometries and draw_geometries_with_custom_animation is straightforward. Everything can be done with the GUI. Press h inside the visualizer window to see helper information. For more details, see Visualization.
This tutorial focuses on more advanced functionalities to customize the behavior of the visualizer window. Please refer to examples/python/visualization/customized_visualization.py to try the following examples.
Mimic draw_geometries() with Visualizer class#
39def custom_draw_geometry_with_rotation(pcd):
40
41    def rotate_view(vis):
42        ctr = vis.get_view_control()
43        ctr.rotate(10.0, 0.0)
44        return False
45
46    o3d.visualization.draw_geometries_with_animation_callback([pcd],
47                                                              rotate_view)
This function produces exactly the same functionality as the convenience function draw_geometries.
Class Visualizer has a couple of variables such as a ViewControl and a RenderOption. The following function reads a predefined RenderOption stored in a json file.
50def custom_draw_geometry_load_option(pcd, render_option_path):
51    vis = o3d.visualization.Visualizer()
52    vis.create_window()
53    vis.add_geometry(pcd)
54    vis.get_render_option().load_from_json(render_option_path)
55    vis.run()
56    vis.destroy_window()
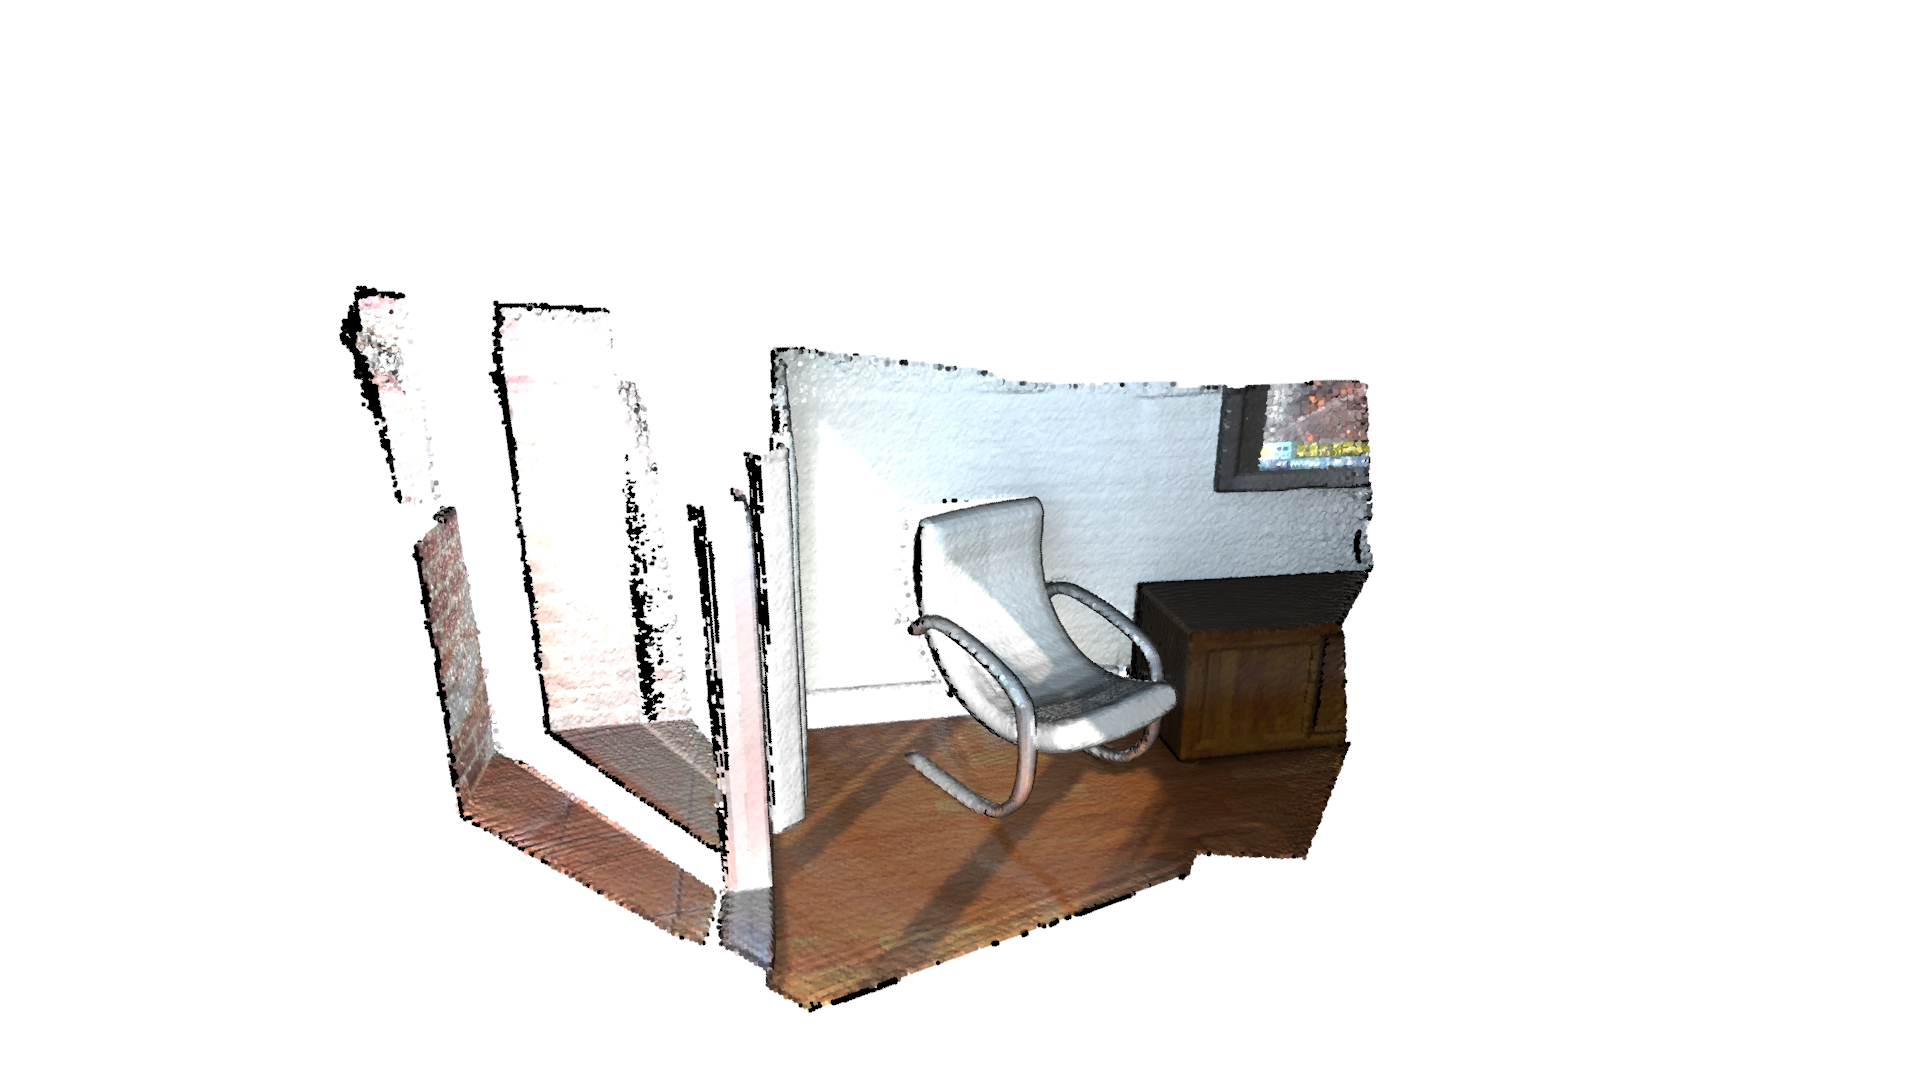
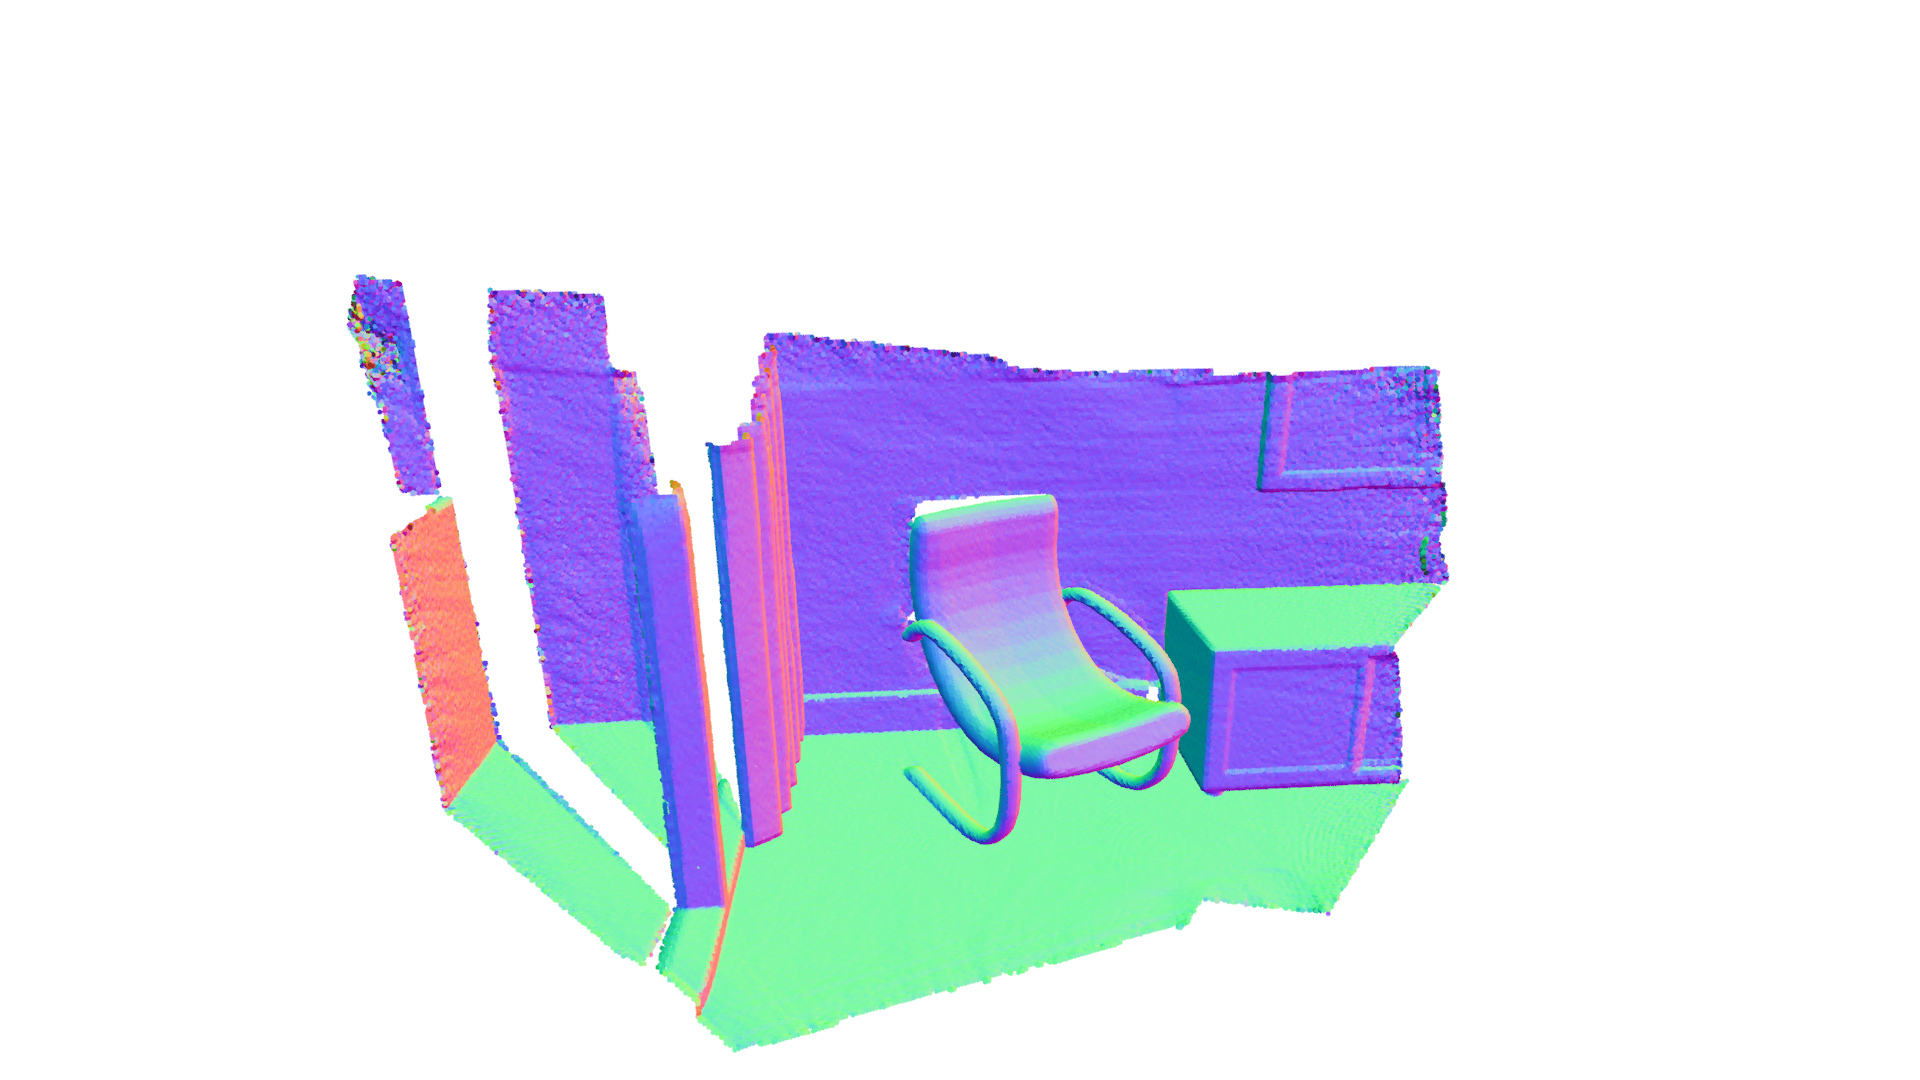
Outputs:
Change field of view#
To change field of view of the camera, it is first necessary to get an instance of the visualizer control. To modify the field of view, use change_field_of_view.
27def custom_draw_geometry_with_custom_fov(pcd, fov_step):
28    vis = o3d.visualization.Visualizer()
29    vis.create_window()
30    vis.add_geometry(pcd)
31    ctr = vis.get_view_control()
32    print("Field of view (before changing) %.2f" % ctr.get_field_of_view())
33    ctr.change_field_of_view(step=fov_step)
34    print("Field of view (after changing) %.2f" % ctr.get_field_of_view())
35    vis.run()
36    vis.destroy_window()
The field of view (FoV) can be set to a degree in the range [5,90]. Note that change_field_of_view adds the specified FoV to the current FoV. By default, the visualizer has an FoV of 60 degrees. Calling the following code
custom_draw_geometry_with_custom_fov(pcd, 90.0)
will add the specified 90 degrees to the default 60 degrees. As it exceeds the maximum allowable FoV, the FoV is set to 90 degrees.
The following code
custom_draw_geometry_with_custom_fov(pcd, -90.0)
will set FoV to 5 degrees, because 60 - 90 = -30 is less than 5 degrees.
Callback functions#
39def custom_draw_geometry_with_rotation(pcd):
40
41    def rotate_view(vis):
42        ctr = vis.get_view_control()
43        ctr.rotate(10.0, 0.0)
44        return False
45
46    o3d.visualization.draw_geometries_with_animation_callback([pcd],
47                                                              rotate_view)
Function draw_geometries_with_animation_callback registers a Python callback function rotate_view as the idle function of the main loop. It rotates the view along the x-axis whenever the visualizer is idle. This defines an animation behavior.
59def custom_draw_geometry_with_key_callback(pcd, render_option_path):
60
61    def change_background_to_black(vis):
62        opt = vis.get_render_option()
63        opt.background_color = np.asarray([0, 0, 0])
64        return False
65
66    def load_render_option(vis):
67        vis.get_render_option().load_from_json(render_option_path)
68        return False
69
70    def capture_depth(vis):
71        depth = vis.capture_depth_float_buffer()
72        plt.imshow(np.asarray(depth))
73        plt.show()
74        return False
75
76    def capture_image(vis):
77        image = vis.capture_screen_float_buffer()
78        plt.imshow(np.asarray(image))
79        plt.show()
80        return False
81
82    key_to_callback = {}
83    key_to_callback[ord("K")] = change_background_to_black
84    key_to_callback[ord("R")] = load_render_option
85    key_to_callback[ord(",")] = capture_depth
86    key_to_callback[ord(".")] = capture_image
87    o3d.visualization.draw_geometries_with_key_callbacks([pcd], key_to_callback)
Callback functions can also be registered upon key press event. This script registered four keys. For example, pressing k changes the background color to black.
Capture images in a customized animation#
 90def custom_draw_geometry_with_camera_trajectory(pcd, render_option_path,
 91                                                camera_trajectory_path):
 92    custom_draw_geometry_with_camera_trajectory.index = -1
 93    custom_draw_geometry_with_camera_trajectory.trajectory =\
 94        o3d.io.read_pinhole_camera_trajectory(camera_trajectory_path)
 95    custom_draw_geometry_with_camera_trajectory.vis = o3d.visualization.Visualizer(
 96    )
 97    image_path = os.path.join(test_data_path, 'image')
 98    if not os.path.exists(image_path):
 99        os.makedirs(image_path)
100    depth_path = os.path.join(test_data_path, 'depth')
101    if not os.path.exists(depth_path):
102        os.makedirs(depth_path)
103
104    def move_forward(vis):
105        # This function is called within the o3d.visualization.Visualizer::run() loop
106        # The run loop calls the function, then re-render
107        # So the sequence in this function is to:
108        # 1. Capture frame
109        # 2. index++, check ending criteria
110        # 3. Set camera
111        # 4. (Re-render)
112        ctr = vis.get_view_control()
113        glb = custom_draw_geometry_with_camera_trajectory
114        if glb.index >= 0:
115            print("Capture image {:05d}".format(glb.index))
116            depth = vis.capture_depth_float_buffer(False)
117            image = vis.capture_screen_float_buffer(False)
118            plt.imsave(os.path.join(depth_path, '{:05d}.png'.format(glb.index)),
119                       np.asarray(depth),
120                       dpi=1)
121            plt.imsave(os.path.join(image_path, '{:05d}.png'.format(glb.index)),
122                       np.asarray(image),
123                       dpi=1)
124            # vis.capture_depth_image("depth/{:05d}.png".format(glb.index), False)
125            # vis.capture_screen_image("image/{:05d}.png".format(glb.index), False)
126        glb.index = glb.index + 1
127        if glb.index < len(glb.trajectory.parameters):
128            ctr.convert_from_pinhole_camera_parameters(
129                glb.trajectory.parameters[glb.index], allow_arbitrary=True)
130        else:
131            custom_draw_geometry_with_camera_trajectory.vis.\
132                register_animation_callback(None)
133        return False
134
135    vis = custom_draw_geometry_with_camera_trajectory.vis
136    vis.create_window()
137    vis.add_geometry(pcd)
138    vis.get_render_option().load_from_json(render_option_path)
139    vis.register_animation_callback(move_forward)
140    vis.run()
141    vis.destroy_window()
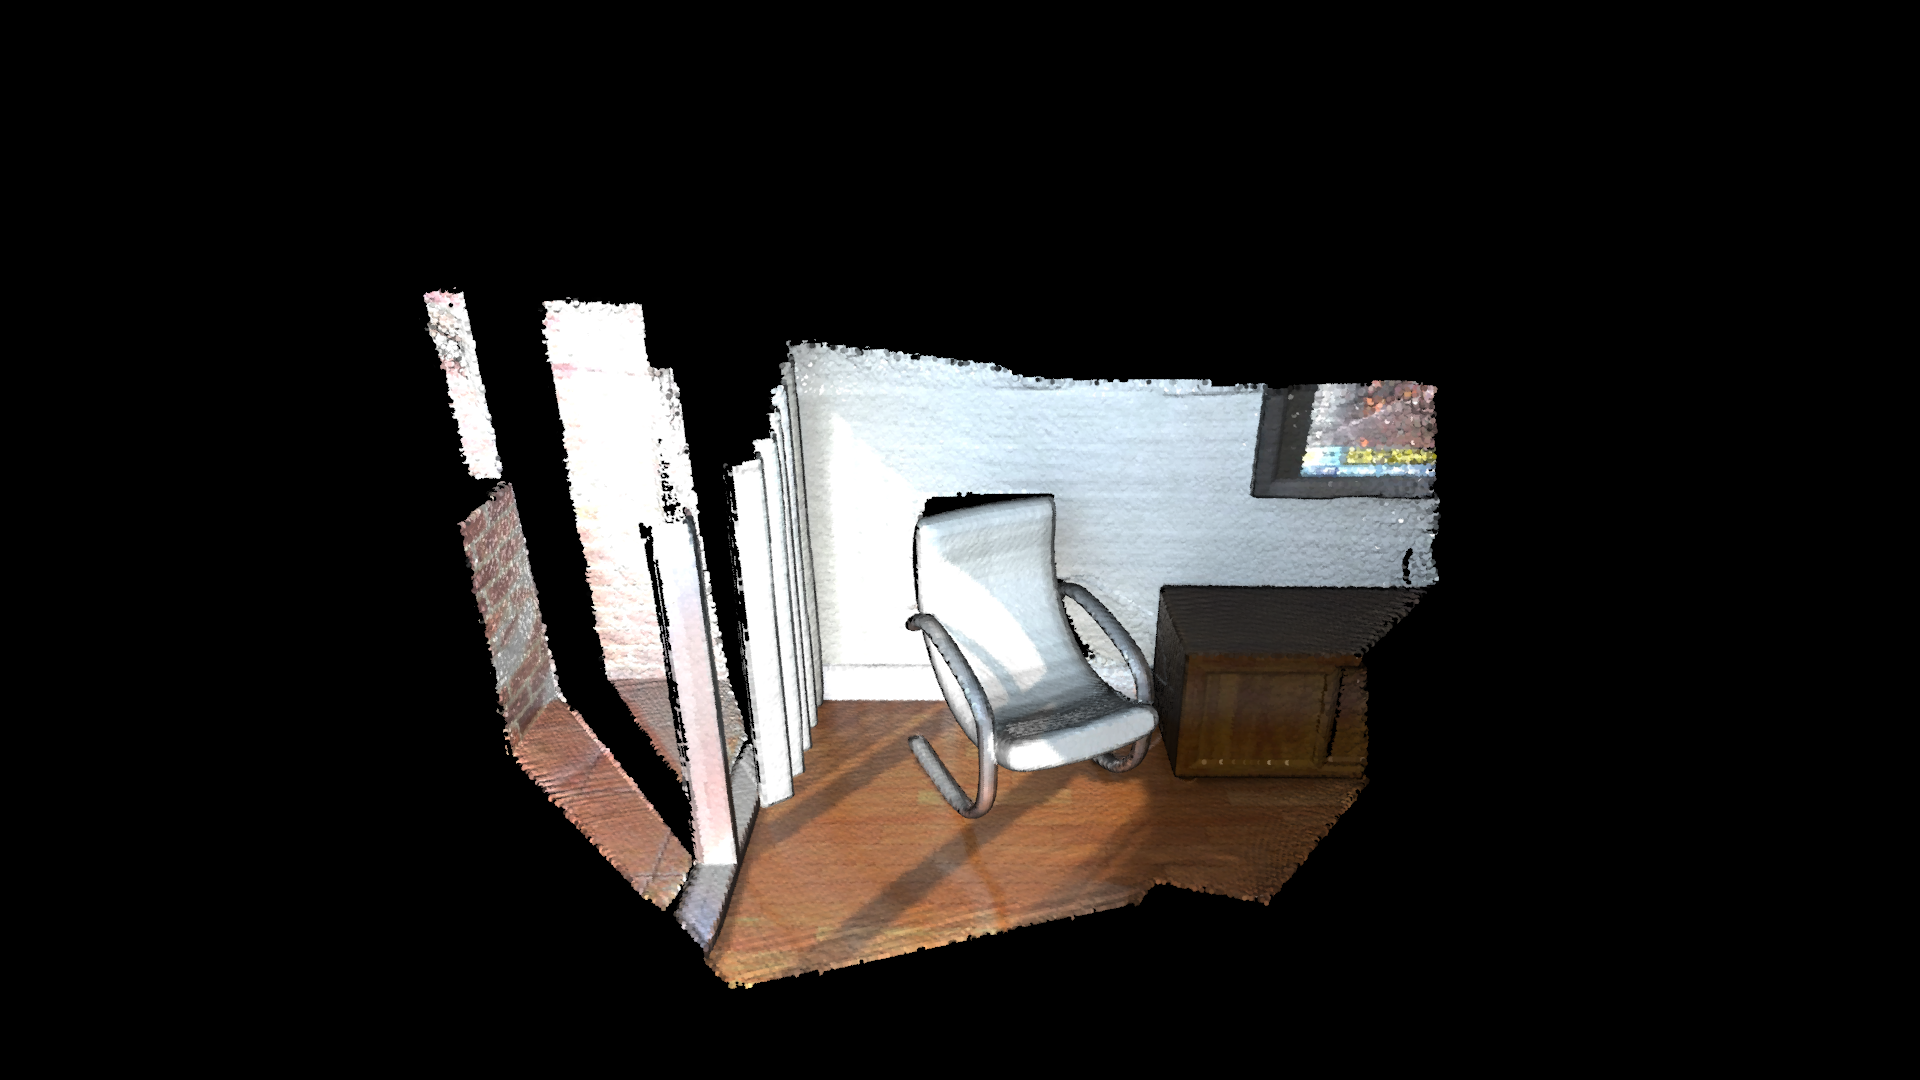
This function reads a camera trajectory, then defines an animation function move_forward to travel through the camera trajectory. In this animation function, both color image and depth image are captured using Visualizer.capture_depth_float_buffer and Visualizer.capture_screen_float_buffer respectively. The images are saved as png files.
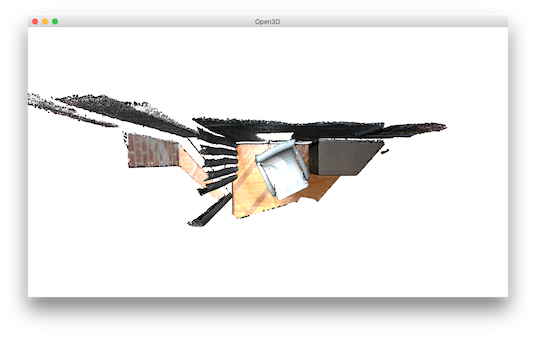
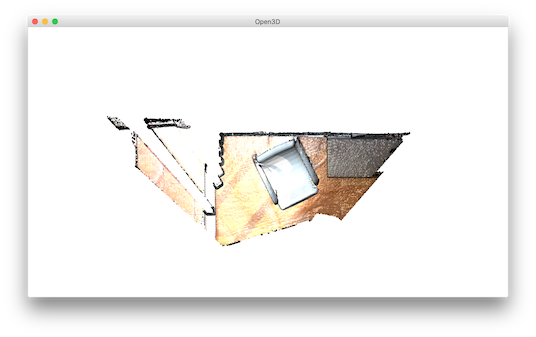
The captured image sequence:
The captured depth sequence:
Applying texture maps to objects#
This example function uses the rendering class to load an object apply texture maps to it. This example can apply any of the albedo, normal, ao, metallic, and roughness textures present in the object directory.
This function takes the object model directory as the input and loads the object from the directory. It then looks for the available textures in the diretory and applies them to the object.
Before you apply a texture, you must ensure that the texture has the expected properties as supported by the defaultLit shader:
albedo: This must be a 3 or 4 channel image, where the RGB components are the albedo. If there is a 4th channel, then it is the alpha channel for transparency. The defaultLit does not support transparency. You must use defaultLitTransparency instead of defaultLit to use transparency, that is similar to defaultLit except that it used alpha channel for transparency.
normal: This must be a 3 channel image, where RGB components represent the normal in tangent space at each pixel.
roughness: This can be 1, 2, 3, or 4 channel image. However, only the 1st channel (Red) is used and indicates the applicable roughness. The value ranges from 0, smooth and highly glossy, to 1, very rough and diffuse.
metallic: This can be 1, 2,3 , or 4 channel image. However, only the 1st channel (Red) is used and indicates the applicable metallic finish. The value ranges from 0, non-metallic, to 1, metallic. Note that the values in between are generally not physically realistic.
ao: This can be 1, 2 ,3, or 4 channel image. However, only the 1st channel (Red) is used and indicates the ambient occlusion. The value ranges from 0, indicating all pixels are fully shadowed and not exposed to indirect lighting, to 1, indicating all pixels are fully lit by the indirect lighting.
reflectance: This can be 1, 2 ,3, or 4 channel image. However, only the 1st channel (Red) is used and indicates the reflectance or refraction of the image. The value ranges from 0, indicating not reflective, to 1, indicating highly-reflective. Generally, physically accurate materials do not have a value below 0.35.
anisotropy: This can be 1, 2 ,3, or 4 channel image. However, only the 1st channel (Red) is used and indicates the anistropic reflectance or refraction of the image. This is used to simulate materials with anisotropic reflectance like brushed metal.
ao_rough_metal: This must be a 3 channel image. If this is set then roughness, metallic, and ao texture maps are ignored. Instead, the the ao_rough_metal is used where the Red channel has the ao map, the Green channel has the roughness map, and the Blue channel has the metallic map.
anisotropy: This can be 1, 2 ,3, or 4 channel image. However, only the 1st channel (Red) is used to simulate materials with anisotropic reflectance like a brushed metal.
Below is a sample python code that derives a texture path, checks if a texture is available, and then loads the texture.
import open3d as o3d
import open3d.visualization.gui as gui
import open3d.visualization.rendering as rendering
import sys, os

def main():
    if len(sys.argv) < 2:
        print ("Usage: texture-model.py [model directory]\n\t This example will load [model directory].obj and any of albedo, normal, ao, metallic and roughness textures present.")
        exit()

    # Derive the object path set the model, material, and shader
    model_dir = sys.argv[1]
    model_name = os.path.join(model_dir, os.path.basename(model_dir) + ".obj")
    model = o3d.io.read_triangle_mesh(model_name)
    material = o3d.visualization.rendering.Material()
    material.shader = "defaultLit"

    # Derive the texture paths
    albedo_name = os.path.join(model_dir, "albedo.png")
    normal_name = os.path.join(model_dir, "normal.png")
    ao_name = os.path.join(model_dir, "ao.png")
    metallic_name = os.path.join(model_dir, "metallic.png")
    roughness_name = os.path.join(model_dir, "roughness.png")

    # Check if the textures are available and loads the texture. For example, if metallic exists then load metallic texture
    if os.path.exists(albedo_name):
        material.albedo_img = o3d.io.read_image(albedo_name)
    if os.path.exists(normal_name):
        material.normal_img = o3d.io.read_image(normal_name)
    if os.path.exists(ao_name):
        material.ao_img = o3d.io.read_image(ao_name)
    if os.path.exists(metallic_name):
        material.base_metallic = 1.0
        material.metallic_img = o3d.io.read_image(metallic_name)
    if os.path.exists(roughness_name):
        material.roughness_img = o3d.io.read_image(roughness_name)

    # Draw an object named cube using the available model and texture
    o3d.visualization.draw([{"name": "cube", "geometry": model, "material": material}])

if __name__ == "__main__":
 main()